If you’re a solo creator or social media manager who’s only ever made static posts, turning images into moving clips can feel like crossing a bridge you’re not sure you’re ready for. You’ve probably seen flashy demos of AI video tools and assumed the process is either fully automated or impossibly technical. What rarely gets shared is the messy, incremental, and surprisingly manageable reality of starting small—especially with a tool like Banana Pro AI that blends image and video creation in one place. This isn’t a review of every feature or a pitch to upgrade. It’s a grounded look at how real beginners actually start using an AI video generator, where they stumble, and what sticks after the first seven days.
What Beginners Actually Expect vs. What Happens Day 1
Most new users show up with two quiet assumptions: that typing a simple prompt will spit out a polished, ready-to-post clip, and that they’ll have to juggle three separate apps to make an image, edit it, and animate it. Neither matches day-one reality.
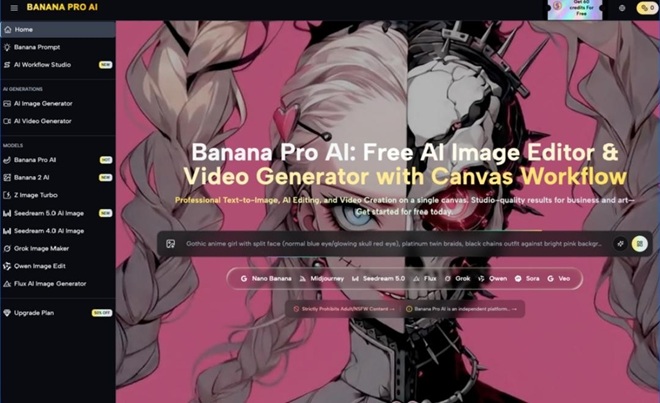
On your first login, you’ll likely notice two things immediately: the platform centers both still and moving content, and it doesn’t force you to pick one lane. Many beginners head straight for “text to video” because it sounds most magical, only to realize vague prompts lead to generic outputs. You might type “cool product video” and get something that’s visually messy or off-brand.
What actually works better on day one is leaning into static-to-motion workflows. Instead of starting blank, upload a photo you already have and use image-to-video. This small shift lowers the pressure drastically. You’re not creating from nothing; you’re breathing life into something you already own.
I noticed this pattern with first-time users: those who start with AI Image Editor to clean up or refine a static image first end up happier with their first video than those who jump straight to video generation. It’s a small, unglamorous habit that separates frustrated beginners from consistent ones.
Day one rarely produces a “viral-worthy” clip. It produces a usable clip—and that’s more than enough.
Building Your First Real Workflow: From Static Asset to Short Video
Once you get past the initial excitement, you’ll settle into a repeatable sequence that feels sustainable. Banana Pro AI’s Canvas Workflow becomes useful here not because it’s complex, but because it eliminates app-switching.
Here’s the realistic beginner workflow that sticks after three or four tries:
- Start with a static image you already use (a product shot, a quote graphic, a thumbnail sketch).
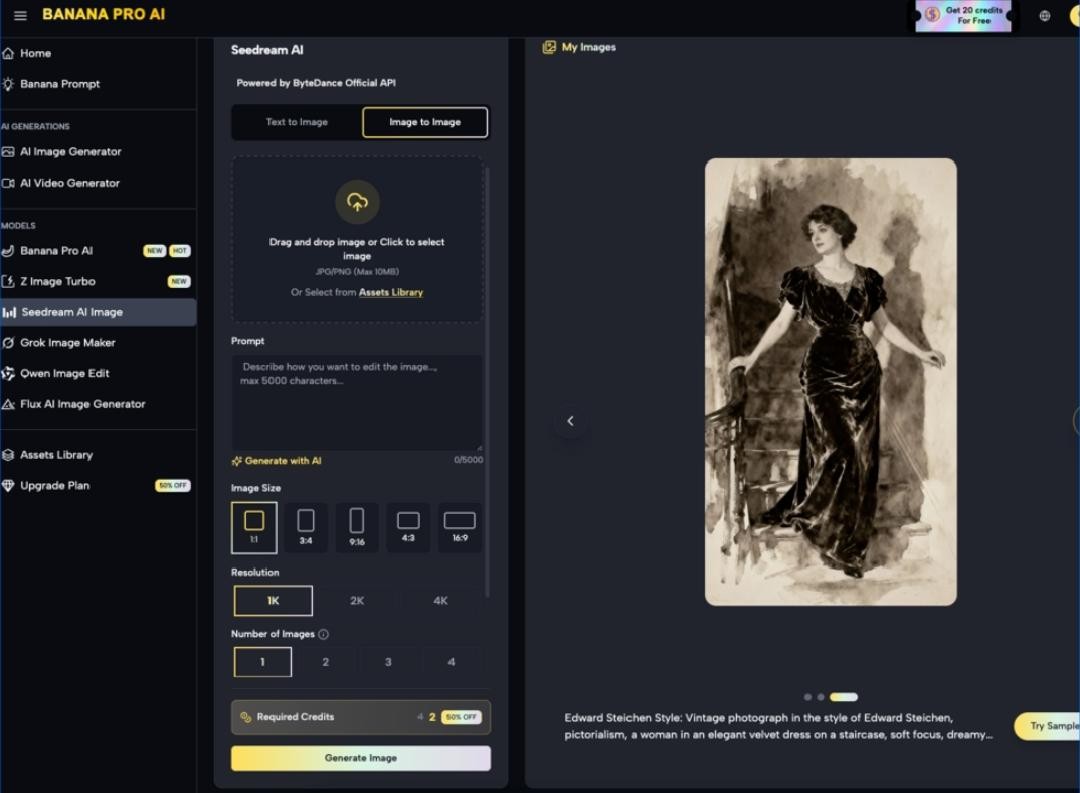
- Open the AI Image Editor to make small, intentional fixes: sharpen details, swap a plain background for something subtle, or remove small distractions. You won’t need advanced edits at first; basic polish goes a long way.
- Drop that edited image into the Canvas Workflow and connect it to an image-to-video node.
- Choose a lightweight model like Nano Banana for faster, more stable previews rather than reaching for the highest-res option immediately.
- Generate a 5–10 second clip, designed for social media feeds—not a full narrative scene.
This workflow avoids two big beginner traps: overprompting and overprocessing. You’re not asking the AI to invent a whole scene; you’re asking it to animate something consistent with your existing brand.
The Canvas Workflow doesn’t require you to learn node logic like a pro tool. You drag, connect, and generate. Beginners often overcomplicate it by adding too many branches in the first hour. The sweet spot is one image → one edit → one video output. Simple pipelines win early on.
Where AI Image Editor Shines (and Where You Still Need to Step In)
A common letdown for new users is believing AI will replace every manual choice. The truth is gentle: AI Image Editor handles the repetitive work, but you still provide the direction.
Where the tool reliably lifts weight:
- Quick background replacements for product or lifestyle images
- Enhancing resolution so static assets look crisp when scaled into video frames
- Removing small objects or clutter that would take minutes in traditional software
- Generating consistent variations so you can A/B test thumbnails or stills before animating
Where you still need to make the call:
- Picking which style fits your feed (cinematic, soft, minimal)
- Judging if a video clip matches your brand’s energy
- Trimming or reordering clips for platform rhythm (Reels vs. TikTok vs. feed posts)
- Knowing when to regenerate vs. accept a good-enough output
Beginners often waste hours chasing “perfect” when “on-brand” works fine. The AI gives you options; you choose the one that fits. This balance is what makes the tool feel supportive, not overwhelming. Even experienced users rely on the AI Image Editor for prep work before video, not as a set‑it‑and‑forget‑it solution.
Small Wins That Stick: How to Build Sustainable Habits With Nano Banana & Canvas Workflow
By day seven, most beginners don’t master every model or feature. They build one or two small habits that fit into their existing routine.
The most sustainable pattern I see is using Nano Banana for fast, daily drafts and reserving larger models for final versions. Nano Banana generates quickly, so you can test three or four variations in the time it takes to make one high‑res render. For social media managers posting daily, speed without sacrificing polish is non-negotiable.
Another sticking habit: saving simple Canvas Workflow templates. Instead of rebuilding your pipeline each day, save a basic “image → edit → short video” setup. Reusing workflows cuts decision fatigue and keeps you consistent, not just creative.
You’ll also start to appreciate small, practical details you didn’t notice at first: full commercial rights mean you don’t have to overthink usage for client or brand posts; the smart asset library keeps your images and video drafts organized so you don’t lose track of versions; and the AI chat assistant helps refine prompts when you’re stuck describing a style you can see but can’t name.
None of these are “revolutionary” features in the hype sense. They’re the kind of details that keep you using the tool long after the novelty fades.
Wrapping Up: AI Video Generation Isn’t About Magic—It’s About Momentum
Starting with an AI video generator doesn’t have to mean overhauling your entire content process. For solo creators and social media managers, the most realistic path is small, steady, and rooted in what you already make.
Begin with static assets, use AI Image Editor to polish before you animate, lean into fast models like Nano Banana for daily testing, and keep workflows simple with the Canvas Workflow. Success in the first week isn’t about making one perfect video—it’s about building a repeatable system that fits into your schedule.
If you’ve hesitated to try AI video because it feels too technical or too unpredictable, use this as your baseline: start small, lean into static-to-motion, and measure progress by consistency, not perfection. That’s how real beginners turn AI tools into reliable parts of their routine.